
-800x800.jpg&width=620&quality=80)


-800x800.jpg&width=172&quality=80)


-800x800.jpg&width=300&quality=80)
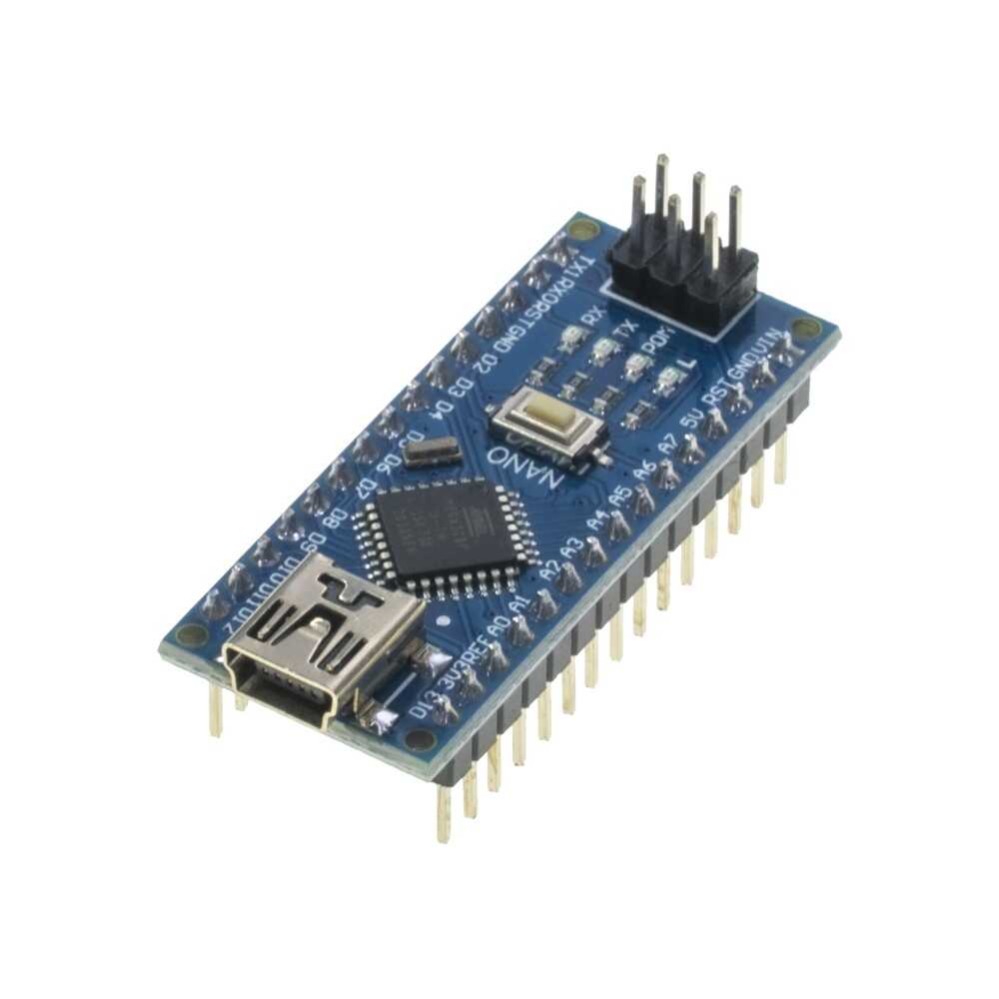
Arduino Nano R3 CH340 Chip Development Board - Compatible with Arduino
The Arduino Nano is an open-source breadboard-friendly microcontroller board based on the Microchip ATmega328P microcontroller (MCU) and developed by Arduino.cc and initially released in 2008. It offers the same connectivity and specs of the Arduino Uno board in a smaller form factor. Arduino Nano.
₹ 198 ₹350
350


The Arduino Nano is a compact and versatile microcontroller board that is based on the ATmega328P microcontroller, similar to the Arduino Uno but in a smaller form factor. Here's a detailed description of the Arduino Nano:
Nano is a small, breadboard-friendly development board based on an ATmega 328P/ATmega168 SMD package microcontroller and offers the same connectivity and specs of Arduino Uno in a small package. DC Power Jack is not available on this board so power can only be supplied by a Mini B USB port present on it or 6-20V unregulated external power supply from Pin 30 (Vin). Due to its small size its very popular among IoT based projects which need to be small and user friendly, in Robotics, in Automation, Instrumentation and Control systems
Specifications:
- It has 22 I/O pins in total in which 14 are Digital (6 are PWM output) and 8 are Analog pins.
- Operating Voltage (Logic Level): 5V.
- Supports Serial, I2C, SPI Communication Protocols.
- Flash memory: 32KB in which 2KB is used by Bootloader
- Clock speed: 16MHz
- DC Current per I/O Pin: 40 mA
- SRAM : 2KB, EEPROM: 1KB
- DC Current per I/O pin: 40mA
Product Description

To connect and program this development board you need to have Arduino IDE installed in your computer and the Mini USB Programming Cable. After installing the IDE you just need to go to TOOLS> BOARDS> Arduino Nano and you are ready to upload the programs with the help of Mini USB B cable. Its programming is not different from Arduino UNO.
Additional Resources:
Overview:
-
Microcontroller: The Arduino Nano uses the ATmega328P microcontroller, which operates at a clock speed of 16 MHz. It has 32 KB of flash memory for storing code, 2 KB of SRAM, and 1 KB of EEPROM.
-
Form Factor: The Nano is much smaller than the Arduino Uno and is designed to be more compact for applications where space is limited. Its dimensions are approximately 18.5 mm x 43.2 mm.
-
Power Supply:
- USB Power: It can be powered via USB using a micro-USB connector, providing 5V DC.
- External Power: Alternatively, it can be powered through an external DC power supply connected to the VIN pin, which can range from 7V to 12V DC.
-
Programming: Like other Arduino boards, it can be programmed using the Arduino IDE via USB. The microcontroller includes a bootloader that allows you to upload sketches over USB without needing an external programmer.
-
I/O Pins:
- Digital I/O: It has 14 digital input/output pins, of which 6 can be used as PWM outputs.
- Analog Inputs: It includes 8 analog input pins.
- UART, SPI, I2C: Supports serial communication (UART), SPI, and I2C protocols for interfacing with other devices and sensors.
-
Voltage Levels: The Nano operates at 5V logic level.
Key Features:
- Compact Size: Ideal for projects where space is limited or where a smaller footprint is desired.
- Built-in USB: Simplifies connectivity and programming compared to older Arduino boards that required separate USB-to-serial converters.
- Cost-effective: Provides similar functionalities as larger Arduino boards but at a lower cost and in a smaller package.
- Arduino IDE Compatibility: Fully compatible with the Arduino IDE, allowing easy programming and integration with existing libraries and examples.
Typical Applications:
- Embedded Systems: Suitable for building embedded systems and prototypes.
- Wearable Technology: Used in wearable electronics due to its small size.
- IoT Projects: Often used in Internet of Things (IoT) applications requiring a compact microcontroller.
- Educational Use: Popular in educational settings for teaching programming and electronics.
// Define the pin where the ACS712 is connected
const int analogPin = A0; // Connect OUT pin of ACS712 to A0
const float VCC = 5.0; // Voltage supplied to the sensor (usually 5V)
const int ADC_Max = 1023; // Maximum value from the ADC (10-bit resolution)
// The sensitivity of the ACS712 (185 mV per amp)
const float sensitivity = 0.185; // For 5A version
// Calibration value for 0A offset
const float zeroCurrentVoltage = 2.5; // The voltage at 0A
void setup() {
// Start serial communication
Serial.begin(9600);
delay(1000); // Wait for the sensor to settle
}
void loop() {
// Read the analog value from the sensor
int sensorValue = analogRead(analogPin);
// Convert the analog value to voltage
float voltage = sensorValue * (VCC / ADC_Max);
// Calculate the current in amperes
float current = (voltage - zeroCurrentVoltage) / sensitivity;
// Print the current value to the serial monitor
Serial.print("Current: ");
Serial.print(current); // Print the current value
Serial.println(" A"); // Print units (Amps)
// Wait for a short period before reading again
delay(500);
}
0 Reviews For this Product
Related Products


.jpg&width=225&quality=80)


2.jpeg&width=225&quality=80)


