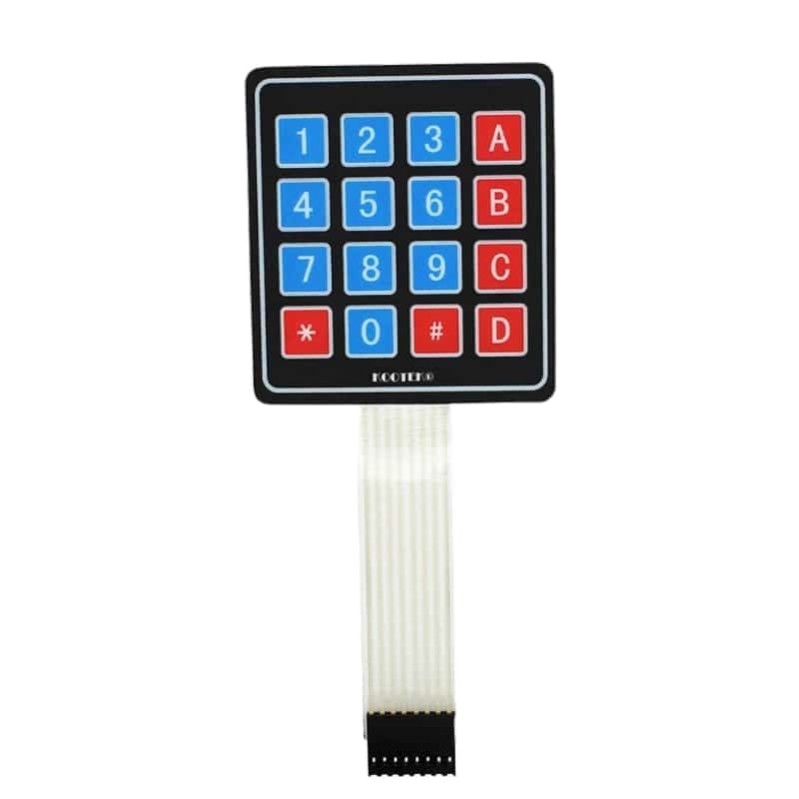


4 X 4 KEYPAD MATRIX
The 4 x 4 Matrix Keypad Module is a non-encoded matrix keypad consisting of 16 keys in parallel. The keys of each row and column are connected through the pins outside – pin R1-R4 as labeled beside control the rows, when L1-L4, the columns. A 4×4 matrix keypad consisting of microswitch buttons.
₹ 42 ₹59
59


| Made In : | India |
Add FAQ
A 4x4 keypad matrix is a common input device used in electronic projects and systems to capture user input through a matrix of keys. This type of keypad consists of 16 individual keys arranged in a 4-row by 4-column grid, allowing for the entry of numerical data, letters, or commands.
Key Features:
-
Matrix Layout:
- Rows and Columns: The keypad has 4 rows and 4 columns, resulting in a total of 16 keys. Each key is connected to a specific row and column.
-
Operation:
- Key Press Detection: When a key is pressed, it connects a specific row to a specific column, which is detected by the microcontroller or other interfacing electronics.
- Scanning: The microcontroller scans the rows and columns to determine which key is pressed.
-
Physical Characteristics:
- Buttons: Typically, the keys are tactile switches, which provide feedback when pressed.
- Size: The overall dimensions of the keypad can vary but are usually compact for easy integration into projects.
-
Connection:
- Pins: The keypad has 8 pins corresponding to the 4 rows and 4 columns. Each pin is connected to a row or column line.
- Wiring: The pins are usually labeled, making it easier to connect the keypad to a microcontroller.
Applications:
-
Electronic Projects:
- User Input: Used in DIY electronics projects to allow users to input numerical values or commands.
- Controllers: Common in devices like alarm systems, calculators, and home automation systems.
-
Keypad Interfaces:
- Microcontrollers: Interfaces with microcontrollers like Arduino, PIC, or AVR to read input from the keypad.
- Displays: Often used in conjunction with LCDs or LED displays to show user input or data.
-
Security Systems:
- Entry Systems: Used in security systems for PIN entry or code input.
Selecting the Right Keypad:
-
Size and Layout:
- Number of Keys: Ensure the keypad has the required number of keys (16 in a 4x4 matrix).
- Key Placement: Verify the layout and placement of keys to match your application’s requirements.
-
Durability:
- Key Quality: Check the quality of the keys and switches, especially if the keypad will be used frequently or in harsh conditions.
-
Compatibility:
- Microcontroller Interface: Ensure the keypad is compatible with your microcontroller or input interface.
Wiring and Usage:
-
Connecting the Keypad:
- Pinout: Connect the 4 row pins and 4 column pins to the corresponding input/output pins on your microcontroller.
- Pin Mapping: Consult the datasheet or schematic for the correct pin mapping.
-
Programming:
- Scanning: Write code to scan the rows and columns of the keypad to detect key presses. Libraries are available for popular microcontrollers to simplify this process.
- Debouncing: Implement debouncing in your code to handle any noise or multiple detections from a single key press.
-
Testing:
- Verify Connections: Ensure all connections are correct and test the keypad to verify that all keys are functioning properly.
0 Reviews For this Product


2.jpeg&width=225&quality=80)
2.jpeg&width=225&quality=80)
.jpeg&width=225&quality=80)

