


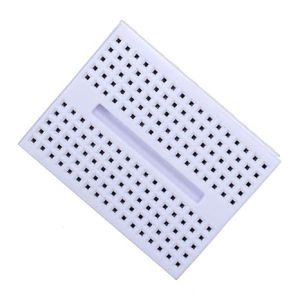
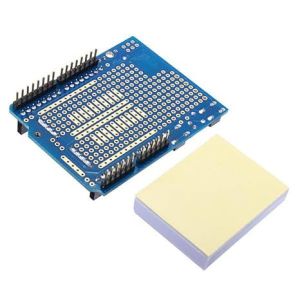
Arduino UNO Prototype Shield with SYB-170 Mini Breadboard (Protoshield Expansion Board)
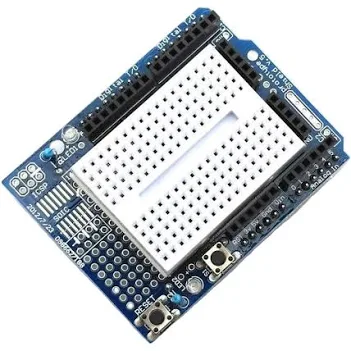
Accelerate your microcontroller project designs with the Arduino UNO Prototype Shield with Mini Breadboard. Engineered to sit directly atop your Arduino UNO R3, this expansion shield gives you two versatile prototyping pathways: a 170 tie-point solderless mini breadboard for temporary circuit testing and a plated through-hole grid for soldering permanent components. Equipped with onboard status LEDs, an extra general-purpose push button, a system reset button, and brought-out I/O pins, it eliminates cluttered jumper wires and combines your custom circuit into a neat, stackable module.
₹ 99
₹ 139


The Arduino UNO Prototype Shield with Mini Breadboard is an essential development tool designed to streamline custom circuit creation on the Arduino platform. Prototyping directly on a standard breadboard often results in loose jumper wires, accidental disconnects, and messy workbench setups. This expansion shield solves those pain points by plugging directly into the standard headers of an Arduino UNO R3, providing a stable hardware platform right on top of your microcontroller.
The shield is split into two complementary prototyping areas:
-
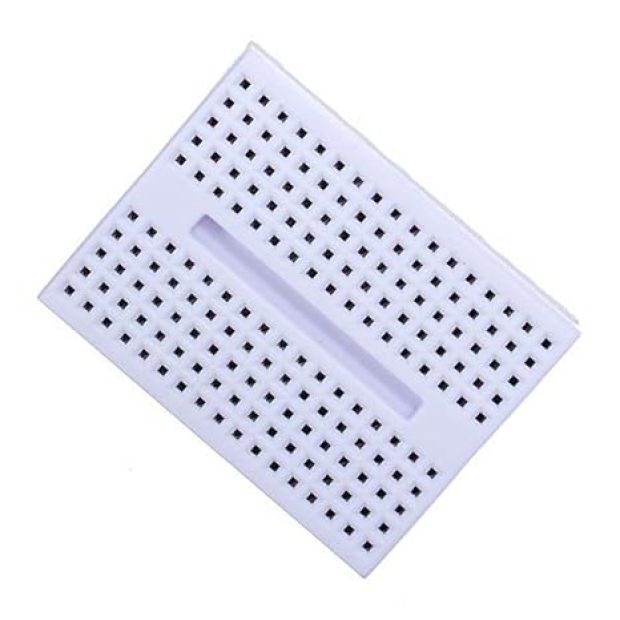
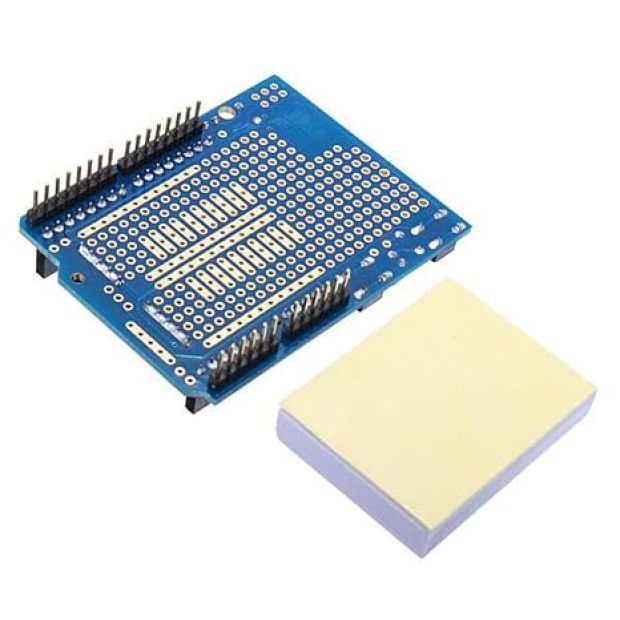
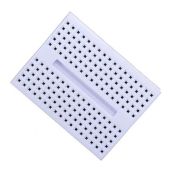
Solderless Mini Breadboard (SYB-170): Features 170 tie-points with a self-adhesive backing. You can stick it directly onto the designated smooth center pad of the shield to quickly plug in sensors, resistors, and ICs without soldering a single wire.
-
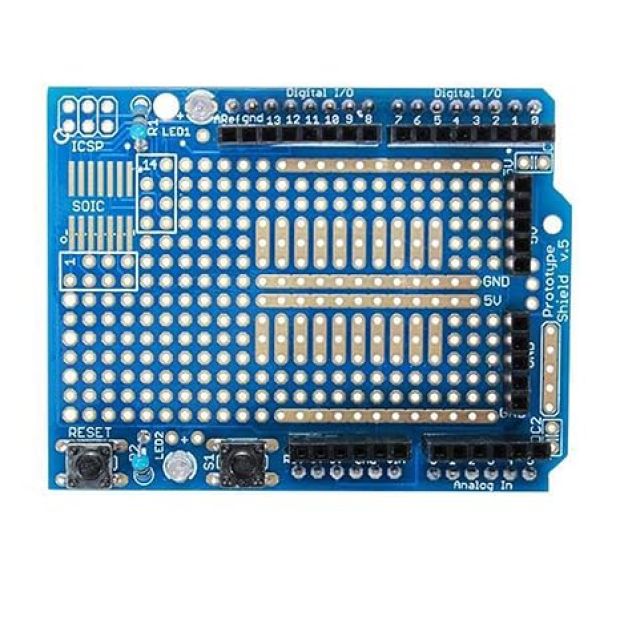
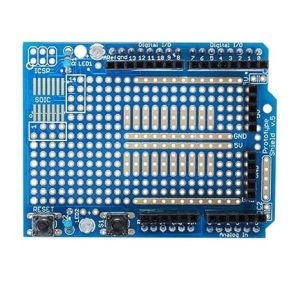
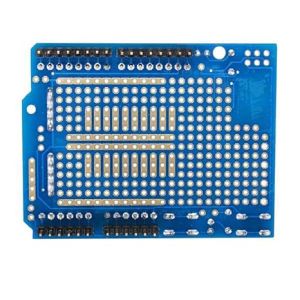
Permanent Soldering Matrix: Surrounding the center section is a standard 0.1" (2.54mm) pitch through-hole grid with large, gold-plated solder pads. Once your breadboard test circuit works, you can solder the components directly onto these pads for a durable, permanent finish.
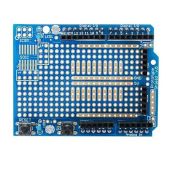
Additionally, every single pin of the Arduino UNO (Digital 0-13, Analog A0-A5, 5V, 3.3V, and GND) is broken out to labeled header pads alongside the board edges. It also features a surface-mount footprint for up to a 14-pin SOIC chip, an extra user button, an onboard reset button connected to the Arduino reset line, and two pre-wired 3mm LEDs with current-limiting resistors.
Key Features and Benefits
-
Dual Prototyping Modes: Offers both a removable 170-point solderless breadboard for temporary testing and a permanent through-hole soldering area on a single PCB.
-
Full Pin Extension: All digital I/O, analog inputs, and power rails (5V, 3.3V, GND) are broken out to clearly labeled solder pads for easy wiring.
-
Integrated Hardware Controls: Includes an accessible Reset Button (mirrors the UNO reset line) and an extra General-Purpose Push Button for custom user inputs.
-
Onboard Diagnostic LEDs: Features two pre-wired 3mm LEDs (Red & Green) with built-in resistors for instant code debugging or visual status indicators.
-
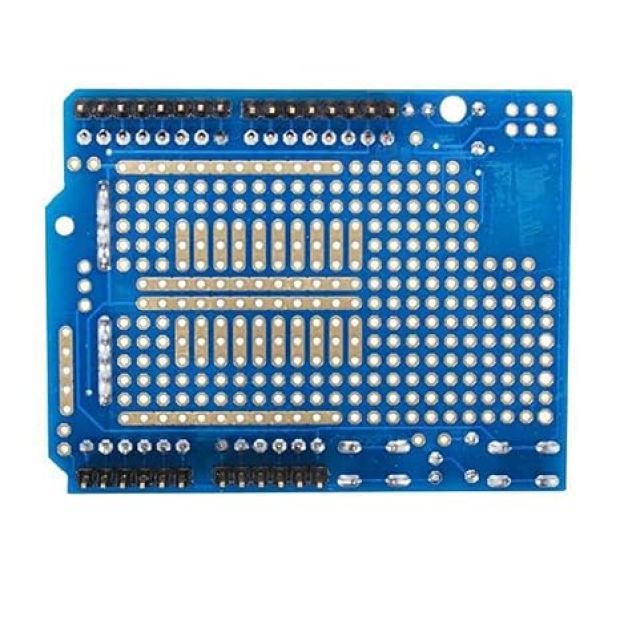
Stackable Pass-Through Headers: Standard female headers allow you to stack additional shields or connect female jumper wires effortlessly.
-
Surface Mount (SMD) Grid: Includes a SOIC-14 IC footprint on the board, letting you integrate surface-mount chips alongside traditional through-hole parts.
Technical Specifications
| Feature Component | Specification Details |
| Shield Compatibility | Arduino UNO R3, Leonardo, Duemilanove, and standard form factors |
| Breadboard Model | SYB-170 Mini Solderless Breadboard (Self-Adhesive) |
| Breadboard Tie-Points | 170 Points (17 columns x 10 rows grid layout) |
| PCB Grid Pitch | Standard 0.1 inches / 2.54 mm through-hole matrix |
| SMD Footprint Support | Up to 14-pin SOIC surface-mount component footprint |
| Onboard Buttons | 1 x System Reset Button + 1 x General-Purpose Tactile Push Button |
| Onboard LEDs | 2 x 3mm General-Purpose LEDs (Red & Green) with 1kΩ resistors |
| Operating Voltage Rail | 3.3V and 5.0V DC (Inherited directly from host Arduino board) |
How to Configure & Use
1. Attaching the Mini Breadboard:
-
Peel off the protective double-sided tape backing on the bottom of the included SYB-170 mini breadboard.
-
Align the breadboard over the smooth metal-free rectangle in the middle of the Protoshield PCB and press down firmly to secure it.
2. Mounting to the Arduino UNO:
-
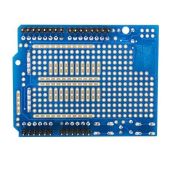
Align the male header pins underneath the Protoshield with the female header sockets of your Arduino UNO board.
-
Gently push down until the shield rests flush against the Arduino.
3. Using the Onboard LEDs and Buttons:
-
General-Purpose Button: The extra push button is connected to dedicated pads on the prototyping grid. Wire a jumper wire from its output pad to any digital input pin (e.g., Digital Pin 2) on the shield.
-
General-Purpose LEDs: The onboard LEDs have exposed input pads. Wire a jumper wire from an output pin (e.g., Digital Pin 13) to the LED pad to turn it on with a
HIGHsignal.
Applications
-
Rapid Hardware Prototyping: Build, test, and iterate sensor circuits and motor drivers without soldering.
-
Permanent DIY Arduino Modules: Solder finalized circuits directly onto the shield to turn loose breadboard wiring into a clean, durable module.
-
STEM & Robotics Education: Ideal for classroom learning where students need to quickly assemble and tear down experimental circuits safely.
-
IoT & Embedded Nodes: Consolidates power connections, pull-up resistors, and communication lines for Wi-Fi or Bluetooth modules into a single compact footprint.
Package Includes
-
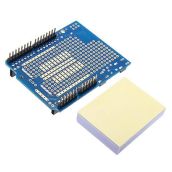
1 x Arduino UNO Prototype Shield Expansion Board
-
1 x SYB-170 Mini Solderless Breadboard with Adhesive Backing
Shipping & Delivery
-
Free shipping on orders above ₹999 across India
-
Dispatched within 1-3 business days
-
Expected delivery: 3-7 business days depending on location
-
Secure packaging to ensure safe transit of electronic components
0 Reviews For this Product

Related Products