
If you’re venturing into the world of electronics and programming, the Raspberry Pi 4 is one of the best starting points. Whether you want to explore sensors, build the latest electronics projects, or even set up your smart home, this versatile little computer has got you covered. In this comprehensive guide, we’ll take you through the easy, step-by-step process of setting up your Raspberry Pi 4, from unboxing to running your first project.
rnBefore we dive into the setup process, let’s go over the components and tools you’ll need:
rnRaspberry Pi 4 Board – This is the heart of your project. The Raspberry Pi 4 comes in several versions, differentiated by the amount of RAM (2GB, 4GB, or 8GB). Choose one based on your project needs.
rnMicroSD Card (32GB or higher) – The microSD card acts as the storage for your Raspberry Pi, housing the operating system and project files.
rnMicroSD Card Reader – You’ll need this to write the operating system image onto the microSD card.
rnPower Supply (5V 3A USB-C) – Ensure you use a reliable power supply to avoid issues with stability and performance.
rnHDMI Cable (Micro HDMI to HDMI) – This connects your Raspberry Pi to a monitor or TV.
rnMonitor – You’ll need a screen to interact with your Raspberry Pi during setup.
rnUSB Keyboard and Mouse – Essential for navigating the operating system.
rnCase (Optional but Recommended) – A case helps protect your Raspberry Pi and can aid in cooling.
rnHeatsinks and Fan (Optional but Recommended) – To prevent overheating during intensive tasks.
rnSensors and Modules – Depending on your project, you might need various sensors like temperature, humidity, PIR (motion), or others. Electroboat.in offers a wide range of sensors for the latest electronics projects.
rnEthernet Cable or Wi-Fi Dongle – If you prefer a wired internet connection or your Raspberry Pi doesn’t have built-in Wi-Fi.
rnLatest Electronics Projects Ideas – Check out project guides on Electroboat.in for inspiration.
rnStart by unboxing your Raspberry Pi 4 and gathering all the components listed above. If you’ve purchased a case and heatsinks, now is the time to assemble them:
rnInstalling Heatsinks: Peel the adhesive backing from the heatsinks and place them on the key chips of the Raspberry Pi 4. This includes the CPU and RAM. Proper cooling is crucial for performance and longevity, especially in demanding projects.
rnMounting the Fan (Optional): If your case comes with a fan, mount it on the top of the case and connect the power wires to the appropriate GPIO pins on the Raspberry Pi board.
rnInserting the Raspberry Pi into the Case: Carefully slide the Raspberry Pi into the case. Ensure all the ports align correctly. Secure the case with screws if needed.
rnThe microSD card is where your Raspberry Pi 4’s operating system (OS) will reside. We recommend using the official Raspberry Pi OS (formerly known as Raspbian) for beginners. Follow these steps to prepare your microSD card:
rnDownload Raspberry Pi Imager:
rnInsert the MicroSD Card into the Reader:
rnWrite the OS Image:
rnSafely Eject the MicroSD Card:
rnNow that your microSD card is ready, it’s time to set up the Raspberry Pi 4:
rnInsert the MicroSD Card:
rnConnect the Monitor:
rnConnect the Keyboard and Mouse:
rnConnect the Power Supply:
rnOn the first boot, the Raspberry Pi OS will guide you through some initial setup steps:
rnWelcome Screen:
rnSet Country and Language:
rnCreate a User Account:
rnSet Up Wi-Fi:
rnUpdate the Software:
rnReboot:
rnOnce the setup is complete, you’ll be taken to the Raspberry Pi OS desktop. Here’s a brief overview of what you’ll find:
rnTaskbar: Located at the top of the screen, the taskbar includes the application menu, clock, network status, and volume control.
rnApplication Menu: Click the Raspberry icon in the top-left corner to access pre-installed applications like the Terminal, Python IDE, and web browser.
rnFile Manager: Use this to navigate through your files and folders. The home directory is where your personal files will be stored.
rnTerminal: The Terminal is your command-line interface for performing advanced tasks. You can launch it from the application menu or by pressing Ctrl + Alt + T.
To make the most out of your Raspberry Pi 4, you’ll want to install some essential software. Here are a few recommendations:
rnPython: Python is pre-installed on the Raspberry Pi OS. You can use it to write scripts, automate tasks, and interact with sensors and hardware.
rnThonny IDE: Thonny is a beginner-friendly Python IDE that comes pre-installed. It’s perfect for writing and debugging your Python code.
rnScratch: Scratch is a visual programming language that’s great for beginners and kids. You can create animations, games, and interactive stories with ease.
rnVNC Viewer: If you want to access your Raspberry Pi remotely, install VNC Viewer. This allows you to control the Pi’s desktop from another computer.
rnAdditional Software: Explore the “Recommended Software” option in the application menu for more tools and applications that can enhance your Raspberry Pi experience.
rnOne of the most exciting aspects of using a Raspberry Pi 4 is its ability to interact with various sensors. Whether you’re building the latest electronics projects or experimenting with environmental monitoring, sensors play a crucial role.
rnTemperature and Humidity Sensor (DHT11/DHT22):
rnPIR Motion Sensor:
rnUltrasonic Distance Sensor (HC-SR04):
rnLight Sensor (LDR):
rnGas Sensor (MQ-2):
rn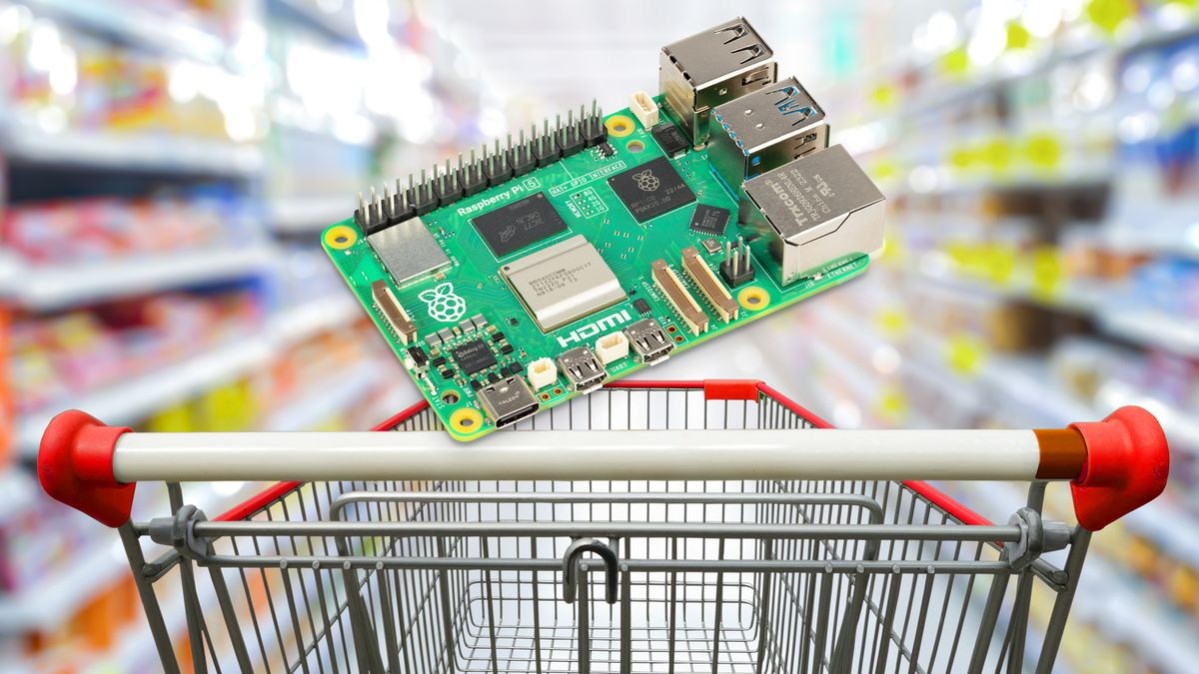
To interface with sensors, you’ll typically write Python scripts that read the sensor data and process it. Here’s a basic example using the DHT11 temperature and humidity sensor.
rnrn
rn
Here's how you can continue with the process of interfacing the DHT11 temperature and humidity sensor with your Raspberry Pi:
rnThe DHT11 sensor is popular for beginners due to its ease of use and reliability. In this step, we’ll walk you through setting it up with your Raspberry Pi 4.
rnrn
Pin Connections:
rnResistor:
rnBreadboard Setup:
rnTo interface with the DHT11 sensor, we need to install the Adafruit DHT Python library. This library simplifies reading data from the DHT11 sensor.
rnTo interface with the DHT11 sensor, we need to install the Adafruit DHT Python library. This library simplifies reading data from the DHT11 sensor.
rnUpdate Your Raspberry Pi:
rnsudo apt-get updaternsudo apt-get upgradernInstall Python 3 Development Tools:
rnsudo apt-get install python3-dev python3-piprnInstall Adafruit DHT Library:
rnsudo pip3 install Adafruit_DHTrnNow that everything is set up, let’s write a simple Python script to read data from the DHT11 sensor.
rnCreate a Python File:
rnnano dht11_example.pyrnWrite the Script:
rnimport Adafruit_DHTrnrn# Set sensor type and GPIO pinrnsensor = Adafruit_DHT.DHT11rngpio_pin = 4rnrn# Read data from the sensorrnhumidity, temperature = Adafruit_DHT.read_retry(sensor, gpio_pin)rnrn# Check if data is validrnif humidity is not None and temperature is not None:rn print(f'Temperature: {temperature:.1f}°C')rn print(f'Humidity: {humidity:.1f}%')rnelse:rn print('Failed to retrieve data from sensor')rnSave and Exit:
rnCtrl + X, then Y, and Enter to confirm.Run the Script:
rnpython3 dht11_example.pyrnIf everything is set up correctly, you should see the temperature and humidity values printed in the Terminal.
rnWith the basics covered, you can now explore a wide range of sensors and modules available at Electroboat.in to expand your projects. Here are a few ideas:
rnMotion-Activated Lighting System:
rnSmart Weather Station:
rnHome Security System:
rnAutomated Plant Watering System:
rnAir Quality Monitoring System:
rnOne of the most exciting aspects of using a Raspberry Pi is its ability to connect to the Internet of Things (IoT). By integrating your Raspberry Pi with IoT platforms, you can remotely monitor and control your projects, log data, and even set up automated triggers.
rnThingSpeak:
rnBlynk:
rnAWS IoT Core:
rnCreate a ThingSpeak Account:
rnCreate a New Channel:
rnInstall Required Libraries:
rnsudo pip3 install requestsrnWrite a Python Script to Send Data:
rnimport Adafruit_DHTrnimport requestsrnrn# Set sensor type and GPIO pinrnsensor = Adafruit_DHT.DHT11rngpio_pin = 4rnrn# Read data from the sensorrnhumidity, temperature = Adafruit_DHT.read_retry(sensor, gpio_pin)rnrn# Check if data is validrnif humidity is not None and temperature is not None:rn print(f'Temperature: {temperature:.1f}°C')rn print(f'Humidity: {humidity:.1f}%')rn rn # Send data to ThingSpeakrn api_key = 'YOUR_THINGSPEAK_WRITE_API_KEY'rn url = f'https://api.thingspeak.com/update?api_key={api_key}&field1={temperature}&field2={humidity}'rn response = requests.get(url)rn if response.status_code == 200:rn print('Data sent to ThingSpeak successfully!')rn else:rn print('Failed to send data to ThingSpeak')rnelse:rn print('Failed to retrieve data from sensor')rnRun the Script:
rnAs you experiment with your Raspberry Pi 4 and various sensors, you might encounter some common issues. Here are a few troubleshooting tips:
rnNo Display Output:
rnSensor Data Not Displaying:
rnRaspberry Pi Not Booting:
rnWi-Fi Connection Issues:
rnOnce you’ve mastered the basics, the possibilities with Raspberry Pi 4 are virtually endless. You can explore robotics, home automation, AI and machine learning, and more. Consider these project ideas to expand your skills:
rnBuild a Robot:
rnSmart Mirror:
rnAI-Powered Projects:
rnHome Automation Hub:
rnRetro Gaming Console:
rnSetting up a Raspberry Pi 4 is an incredibly rewarding experience that opens the door to a vast array of electronics and programming projects. Whether you’re a beginner looking to learn the basics or an advanced user aiming to build complex systems, the Raspberry Pi 4 provides the flexibility and power to realize your ideas.
rnAt Electroboat.in, we offer a wide range of components, sensors, and project kits to help you get started on your Raspberry Pi journey. From basic starter kits to advanced sensor modules, our products are curated to suit the needs of every maker. So, why wait? Start your Raspberry Pi adventure today and bring your electronics projects to life!
