rn
rn
Getting Started with Arduino: A Beginner’s Guide by Electro Boat
rnArduino has revolutionized the world of electronics by making it accessible to hobbyists, students, and professionals alike. Whether you're a complete beginner or have some experience in electronics, Arduino offers an exciting platform to bring your ideas to life. At Electroboat.in, we provide a wide range of Arduino boards, sensors, and accessories to help you get started on your journey. In this blog, we'll walk you through the basics of Arduino and guide you on how to begin your first project.
rnWhat is Arduino?
rnArduino is an open-source electronics platform based on easy-to-use hardware and software. It consists of a microcontroller, which is a small computer on a single integrated circuit, and a development environment (IDE) that allows you to write and upload code to the board. Arduino boards can interact with the environment using various sensors and can control lights, motors, and other actuators.
rnOne of the main reasons Arduino is so popular is its simplicity and flexibility. Whether you're building a simple LED blinking project or a complex home automation system, Arduino provides the tools and resources you need to get started.
rnWhy Choose Arduino?
rnThere are several reasons why Arduino is the go-to choice for beginners:
rn1. Ease of Use: Arduino’s hardware and software are designed to be easy to use, even for those with little to no prior experience in electronics or programming.
2. Community Support: Arduino has a massive global community, which means there are countless tutorials, forums, and resources available to help you troubleshoot and learn.
3. Versatility: With Arduino, you can build a wide variety of projects, from simple gadgets to complex systems.
4. Cost-Effective: Arduino boards are affordable, making it accessible for students, hobbyists, and educators.
Getting Started: Choosing the Right Arduino Board
rnBefore you dive into your first project, you'll need to choose the right Arduino board. The most popular and beginner-friendly option is the Arduino Uno, which is perfect for learning the basics and building simple projects. Here are a few other options you might consider:
rn- Arduino Nano: A compact version of the Uno, ideal for projects with space constraints.
- Arduino Mega: Offers more input/output pins than the Uno, suitable for more complex projects.
- Arduino Leonardo: Includes a USB interface, making it great for projects that involve keyboard or mouse emulation.
At Electroboat.in, we offer a wide range of Arduino boards, including the ones mentioned above, along with essential accessories like jumper wires, breadboards, and power supplies.
rnrn
Setting Up Your Arduino Environment
rnOnce you've chosen your Arduino board, the next step is to set up your development environment. Follow these steps to get started:
rn1. Download the Arduino IDE:
- Visit the official [Arduino website](https://www.arduino.cc/en/software) and download the IDE (Integrated Development Environment) for your operating system (Windows, macOS, or Linux).
2. Install the Arduino IDE:
- After downloading, follow the installation instructions specific to your operating system.
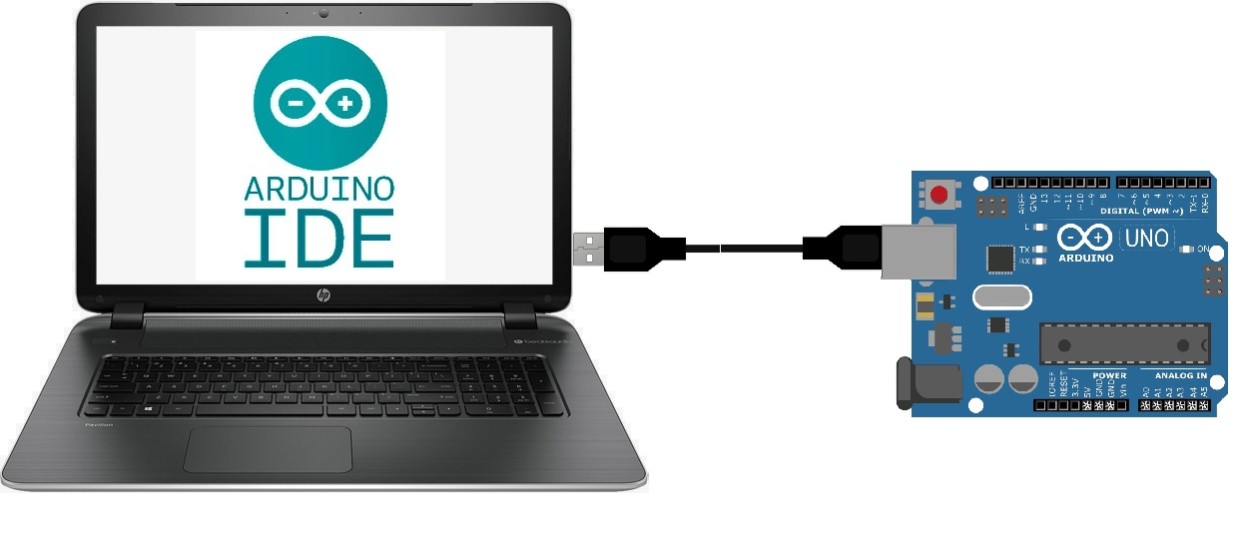
3. Connect Your Arduino Board:
- Use a USB cable to connect your Arduino board to your computer. The power LED on the board should light up, indicating that the connection is successful.
4. Install the Necessary Drivers:
- If you're using Windows, you might need to install drivers for your Arduino board. The Arduino IDE should prompt you to do this automatically.
5. Select Your Board and Port:
- Open the Arduino IDE and go to `Tools > Board` to select your Arduino model (e.g., Arduino Uno).
- Then, go to `Tools > Port` and select the COM port that corresponds to your Arduino board.
Your First Arduino Project: Blinking an LED
rnOne of the simplest and most common beginner projects is to make an LED blink. This project introduces you to the basics of programming and working with Arduino hardware.
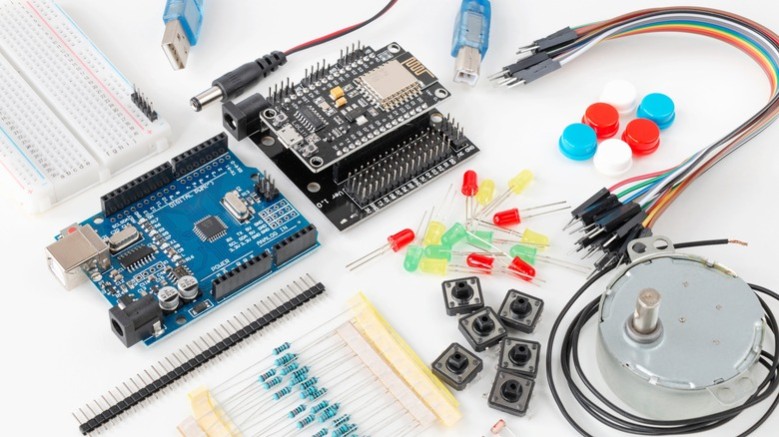
rnMaterials Needed:
rn- Arduino board (e.g., Arduino Uno)
- LED (any color)
- 220-ohm resistor
- Breadboard
- Jumper wires
Step-by-Step Guide:
rn1. Set Up the Circuit:
- Place the LED on the breadboard. Connect the shorter leg (cathode) to the ground (GND) pin on the Arduino using a jumper wire.
- Connect the longer leg (anode) to one end of the 220-ohm resistor.
- Connect the other end of the resistor to digital pin 13 on the Arduino using another jumper wire.
2. Write the Code:
- Open the Arduino IDE and write the following code:
```cpp
void setup() {
pinMode(13, OUTPUT); // Set pin 13 as an output
}
void loop() {
digitalWrite(13, HIGH); // Turn the LED on
delay(1000); // Wait for 1 second
digitalWrite(13, LOW); // Turn the LED off
delay(1000); // Wait for 1 second
}
```
- This code will make the LED blink on and off every second.
3. Upload the Code:
- Click on the "Upload" button in the Arduino IDE (the arrow pointing to the right). The code will be compiled and uploaded to your Arduino board.
- Once uploaded, the LED should start blinking.
Congratulations! You’ve just completed your first Arduino project.
rnExploring More Arduino Projects Get Original Arduino Boarads at Electro Boat
rnOnce you've mastered the basics, the possibilities with Arduino are endless. Here are a few project ideas to inspire your next build:
rn1. Temperature and Humidity Monitor:
- Use a DHT11 sensor to measure temperature and humidity and display the readings on an LCD screen.
2. Motion-Activated Light:
- Create a motion-sensing light using a PIR sensor and an LED.
3. Automated Plant Watering System:
- Build a system that automatically waters your plants based on soil moisture levels using a moisture sensor and a relay module.
4. Home Security System:
- Design a basic security system with a keypad and buzzer that triggers an alarm when the wrong code is entered.
5. Bluetooth-Controlled Robot:
- Construct a simple robot that can be controlled via a smartphone using an HC-05 Bluetooth module.
All the components required for these projects are available at Electroboat.in, where we also provide tutorials and resources to help you along the way.
rnWhy Buy Arduino Components from Electroboat.in?
rnAt Electroboat.in, we pride ourselves on being a one-stop shop for all your Arduino needs. Here’s why you should choose us:
rn- Wide Selection: We offer a comprehensive range of Arduino boards, sensors, modules, and accessories to support all types of projects.
- Quality Assurance: We ensure that all our products meet the highest standards of quality and reliability.
- Competitive Pricing: Our products are competitively priced, making it affordable to start and scale your projects.
- Fast Shipping: We deliver across India, ensuring you receive your components quickly and efficiently.
- Customer Support: Our dedicated customer support team is always ready to assist you with any questions or issues.
Join the Arduino Community of electro boat
rnLearning Arduino is more fun and rewarding when you’re part of a community. At Electroboat.in, we offer more than just products; we provide access to a vibrant community of makers, educators, and hobbyists. Join our forums to share your projects, get feedback, and learn from others.
rnWe also regularly update our blog with tutorials, project ideas, and tips to help you get the most out of your Arduino experience. Be sure to check out our resources and subscribe to our newsletter for the latest updates.
rnStart Your Arduino Journey Today
rnArduino is more than just a tool; it’s a gateway to creativity, innovation, and learning. Whether you’re looking to build your first project or take on more advanced challenges, Electroboat.in has everything you need to succeed.
rnSo why wait? Start your Arduino journey today by exploring our wide range of products, and let your imagination run wild. Visit [Electroboat.in](https://www.electroboat.in) to find the components you need and begin building the future.
rn